How to Install Garden Screening
Garden screening has a number of applications in the garden making this product a very versatile & useful addition to any garden. Screening now also comes in a variety of materials & sizes which we have outlined below. To get the most out of your screens & to ensure they last for many years, it is important to take the time to erect & secure them properly.

Types of Garden Screens
Willow: Probably the most popular, willow is one of the hardiest & long lasting garden screens. They are usually deep brown in colour with stems varying in diameter from 0.5cm to 1.5cm. Natural willow makes a fantastic backdrop to planting schemes & looks great in more traditional style gardens.
Brushwood / Thatch: The quality of brushwood screening can really vary. This product is also short lived and can quickly become gappy & lose its structure. If you plan on using brushwood double check the quality before purchasing & only use in a well sheltered location.
Bamboo / Split Bamboo: Bamboo is the hardiest & most long lasting garden screen. Their creamy stems will brighten up a garden & they look perfect in an oriental themed garden.
Reed Screening: Lightweight & low cost, reed is a quick & cheap screening option suited for temporary projects & installations. The lifespan of reed screening would be approx. 2 to 3 years. All screens are available in 1m, 1.5m & 2m heights
How to Install Garden Screening (Along an Existing Fence)
The best way to install a screen along an existing fence is to use strands of high tension garden wire. To do this you will need the following...
- 2mm garden wire
- Vine eye screws
- Crimping clips
The steps involved
- Tools needed: drill, spirit level, screwdriver, crimping tool
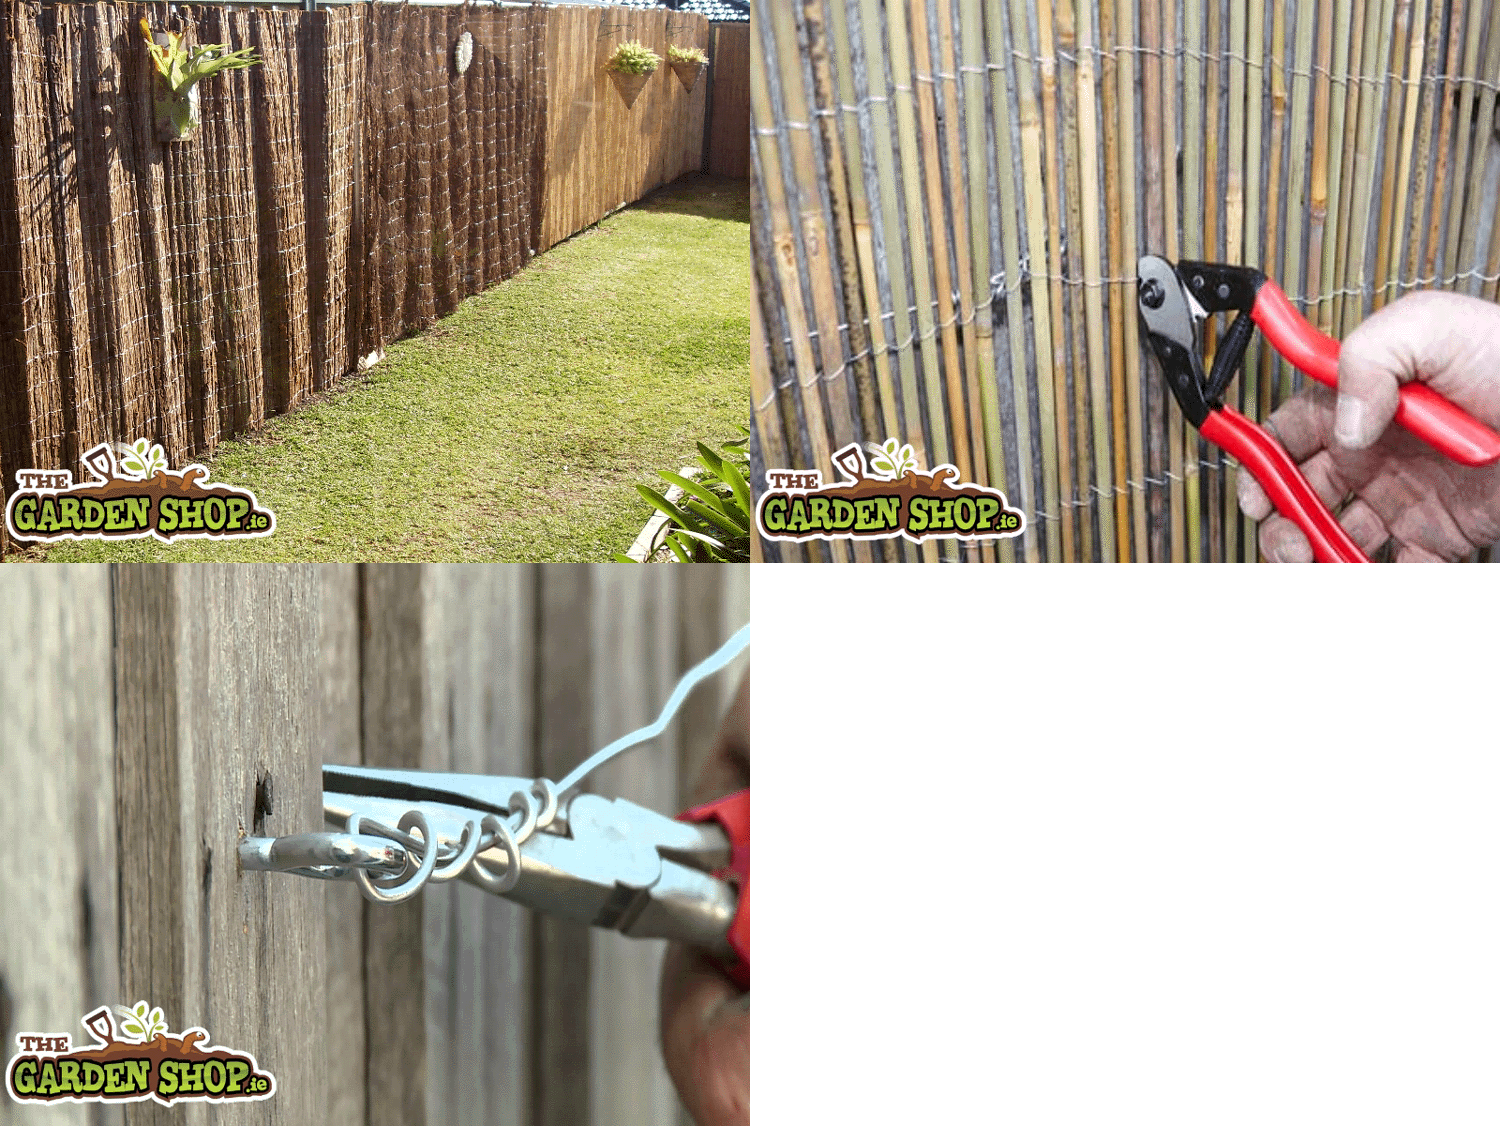
- Create 3 horizontal strands of garden wire that you can secure to screening to. To do this, screw vine eye screws at even intervals along the existing garden fence. Ensure the screws are all level with each other. Ideally have 3 horizontal rows of screws, approx. 0.40m apart
- Next run a length of 2mm garden wire through the vine eye screws, creating 3 horizontal lengths of wire. Tension at the ends for a secure & neat finish
- Roll out your length of garden screening along the fence, ensure screen is pulled out straight & secure to the 2mm wire using crimping clips
- Continue this along the full length of the fence, pulling the screening tight to ensure it is straight & level across the top & bottom
How to Install Garden Screening (Free Standing)
If you wish to erect a garden screen where currently no walling or fencing exists you will first need to create a solid structure onto which the screening can be fixed. For this you will need the following...
- Square timber posts
- Sand & cement
- 2mm garden wire
- Vine eye screws
- Crimping clips
The steps involved
- If the length of screening is over 20m then you should use a cement mixer to mix your cement
- The first step is to dig out holes for your timber posts. To ensure the posts are all in a straight line, first dig out the first & last post. Secure these in the ground and then run a length of builders line between the 2 posts to determine the position of each intermediate post
- Set the posts in a concrete foundation and allow to harden overnight before positioning the intermediate posts
- Intermediate posts should be positioned 2.5m apart for 1m high screening & 2m apart of 2m high screening
- Once posts are positioned, allow one day for concrete to set
- Once set, screw in vine eye screws & 2mm wire as discussed above & fix screening to wire using crimping tool as laid out above


