


Cart is empty

Free Travel Water Bottle With Orders Over €100
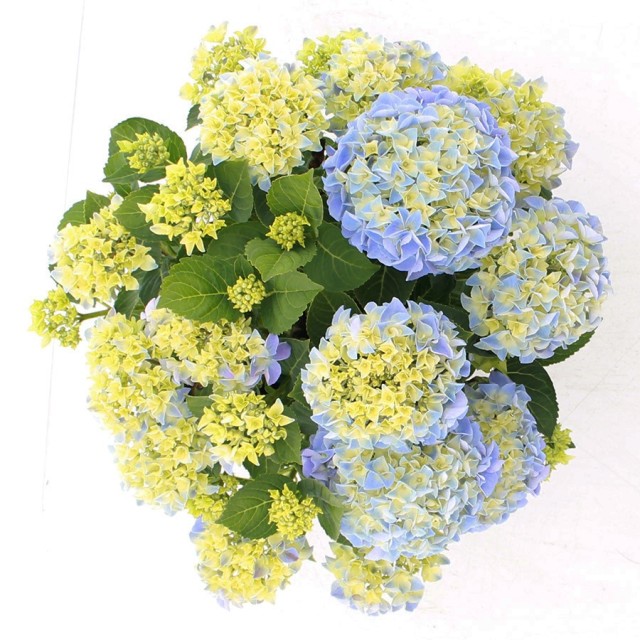
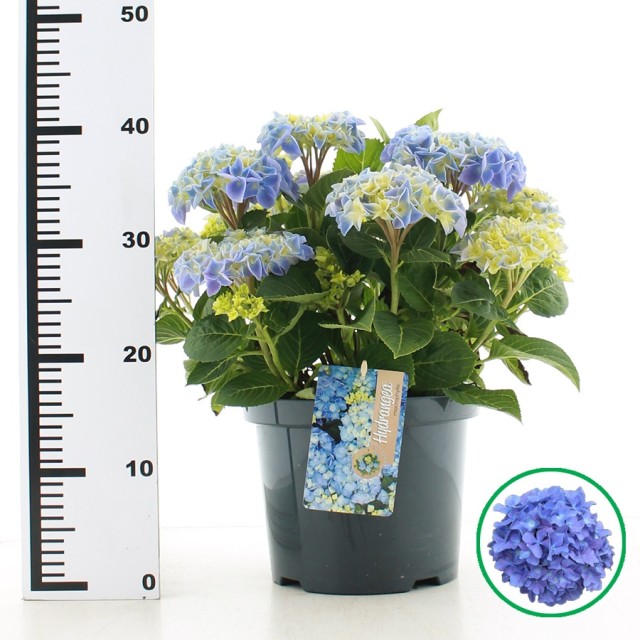
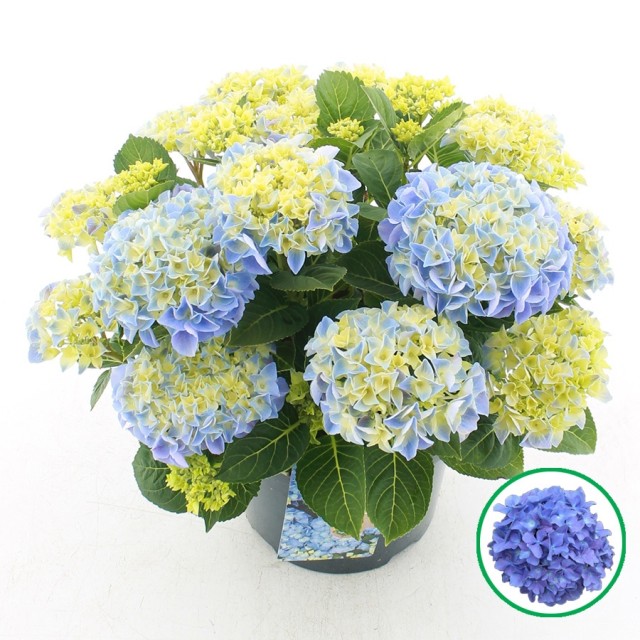



Potted Hydrangea Plant - Description
- Attractive Hydrangea Plant
- Important Note
- They're Pink in Lime Soil
- They're Blue / Purple in Acidic Soil
- AKA Hydrangea Macrophylla (H)
- Species: H Macrophylla
- Purple / Blue Coloured Hydrangea
- Final Size: 1.5m in Height
- Potted Hydrangea Plant
- Pot Size: 5 Litres
- Current Size: 50cm
- Summer actual condition: 7+ flowers
Potted Hydrangea Plant - Characteristics
- Flowers from July onwards
- Flower changes colour depending on soil conditions
- Acidic or neutral soils: Lilac / Mauve
- Alkaline soils: Pink blooms
- Height & spread: 1.5 - 2.5m
- Spherical flower heads, approx. 10cm in diameter
- Spacing: 2.5m apart
- Deciduous
- Grow rate: Fast
- Hardy
Potted Hydrangea Plant - Uses
- Large hydrangea shrubs are suited to medium & larger gardens with wide flower beds
- Deciduous plants look best when planted with evergreens
- Hydrangeas offer colour from July to September
- Big, bright flowers give great impact
- Suited to containers also
- Position in full sun
- Interesting flower heads are suited to cut flower gardens
- Plant Hydrangea with other flowering shrubs such as Hebe Autumn Glory, Weigela, Fuschia & Hypericum
Potted Hydrangea Plant - How to Grow
- Ensure plants are well watered before sowing
- Macrophylla hydrangeas require moist soils & don't like drying out
- Choose your spot, ideally a sunny location
- When planting, dig a planting hole approx. twice the width of the pot
- Use a fork to loosen the soil in the base of the planting hole
- Gently remove the plant from it's pot
- Position the plant in the hole
- Take care when planting, be gentle on the plant's roots
- Water in well after planting
- Mulch around the base of plants after sowing
- Flower heads can be left in place even after the flowers die back in Autumn
Types of Hydrangea
- Mophead: Macrophylla. Large spherical blooms
- Lacecap: Also Macrophylla. Small flowers, with large bud centers
- Smooth: Arborescens. Usually white blooms, spherical
- Mountain: Macrophylla subulata
- Panicle: Paniculata. Large, pointed or cone shaped blooms
- Oak leaf: Quercifolia. Oak shaped leaves, good Autumn colour
- Climbing: Petiolaris
Planting Large Garden Shrubs
Containerised garden shrubs can be planted any time of year, however the best time for any garden planting is between the months of September & March as this is the dormant season and the time when garden shrubs are not actively growing. The process of planting shrubs can start right back at the design phase when we choose the best plants for our garden.
Below is a quick guide on how to plant large shrubs to ensure they get the best start & give maximum results in the garden.
Planning
Planning your borders is an important process & it will ensure that you make the right choice when buying plants. When you plan your garden's planting layout, you should choose & position plants in the following order.
- Large & structural plants
- Architectural & focal point plants
- Medium & decorative plants
- Small & ground cover plants
- Infillers & herbaceous plants
Large plants are chosen & positioned first because these will form the structure & backbone to your flower beds. These large garden shrubs create the divisions, boundaries, privacy & year round form to your garden & borders.
As well as choosing these plants first at the design stage, these large shrubs are also positioned in the garden first. The position, shape & size of these plants will determine your decision making on all other plants that follow.
Once you are happy with the choice and position of your larger plants you can move on to planting & preparing your soil.
Preparing Your Soil
To ensure your plants settle in quickly & start growing as soon as possible, it is important to handle your plants carefully & provide your plants with the best soil & growing conditions. Your plants will need water, light, nutrients & space to grow and to ensure they get this you should improve your soil & allow sufficient space between plants.
Start by digging your planting hole. This hole should be roughly twice the width of the plant’s container & 1½ times its depth. Plant roots like to grow downwards, so to encourage this you can loosen up the soil in the base of the planting hole with a garden fork. If your soil is sandy, stony or very shallow then you will need to dig an even bigger hole & back fill with rich loam topsoil.
Once the hole is dug, add a small amount of john Innes No. 3 compost or add farm yard manure and mix it through the existing soil. At this point you can also add a small amount of fertiliser, for large plants you can add 70 grams of growmore plant food.
Planting
Handling your plants with care is very important. Your plants will already be experiencing the shock of being moved which will lead to a stunt in plant growth. So any additional stress caused to the plants at this point should be avoided.
If your plants are dried out, it is essential that you soak the root ball for 10 minutes before planting. To do this you can fill a bin or very large bucket with water and push the plant’s rootball & container down into the water. While the plant is soaking, you can prepare the planting hole as mentioned above.
Carefully lift the plant from its pot, gently ‘tickle’ the plant's root ball to free up the roots and encourage them to start growing outwards. Next, you need to determine the plant's best side and then position the plant in the hole.
Before back filling, ensure the plant is both level vertically & also level with the surrounding ground. It is very important to not plant a shrub too deep (will lead to stem rot) or too shallow (can lead to poor establishment & root ball drying out). Once you are happy you can back fill the soil & then press the soil in well with a strong tap of your foot.
Aftercare
The immediate after care of your plant is simply to water it in. Keep an eye on the plant for the first few months & make sure the soil never dries out. In very warm Summers you will need to water in new plants every 2 to 3 days.
If there are any bamboo canes or supports with the plants these need to be loosened now. Feed your plants every Spring & make mulch in Winter to keep your plant insulated & free from weeds.


